Launching a website in Malaysia today requires much more than uploading files and switching a domain live. A single mistake can lead to broken pages, missing forms, slow loading, security risks or PDPA violations. These issues cost businesses money, credibility and search rankings.
Malaysia’s digital economy is growing quickly and more than 80 percent of SMEs now depend on digital platforms for sales, communication and operations. In a market this competitive, your website launch must be executed with precision.
Most businesses still treat launch day as a simple go live task. They publish the site and hope for the best. Real success comes from preparation, testing, compliance checks and performance validation.
After delivering more than 500 website launch projects across Malaysia and Southeast Asia, our team at MediaPlus has developed a proven launch process. The checklist below shows exactly what separates a smooth, professional launch from an expensive failure.
Website checklist part one: mapping out your site
01. Analyze What Needs to Change
If you are redesigning an existing website, the first step is to clearly understand the scope of the project. Start by reviewing your current site and listing everything that needs improvement.
This can include visual issues, outdated layouts, broken links, or technical problems that hurt performance. It may also involve removing pages that no longer serve a purpose, reorganizing sections, or adding entirely new features, such as an online course or a booking system.
Getting this overview early helps you avoid missed details and keeps the redesign focused and intentional.

06. Choose a Website Builder
Choosing the right website builder is a foundational decision. The platform you pick should match both your technical comfort level and your long-term goals.
Today’s website builders cover a wide range of use cases, from complete beginners to experienced designers. For example, a content management system like Wix connects your website content to a server through a visual, WYSIWYG interface. This allows you to see changes in real time, making the build and launch process more approachable for non-technical users.
Before deciding, compare platforms based on pricing, flexibility, scalability, and the features you actually need. Reading real user reviews can help you spot limitations early. You may also want to explore AI-powered website builders or industry-specific solutions if they better fit your use case.
Related reading: GoDaddy vs Shopify, or Wix vs Shopify.
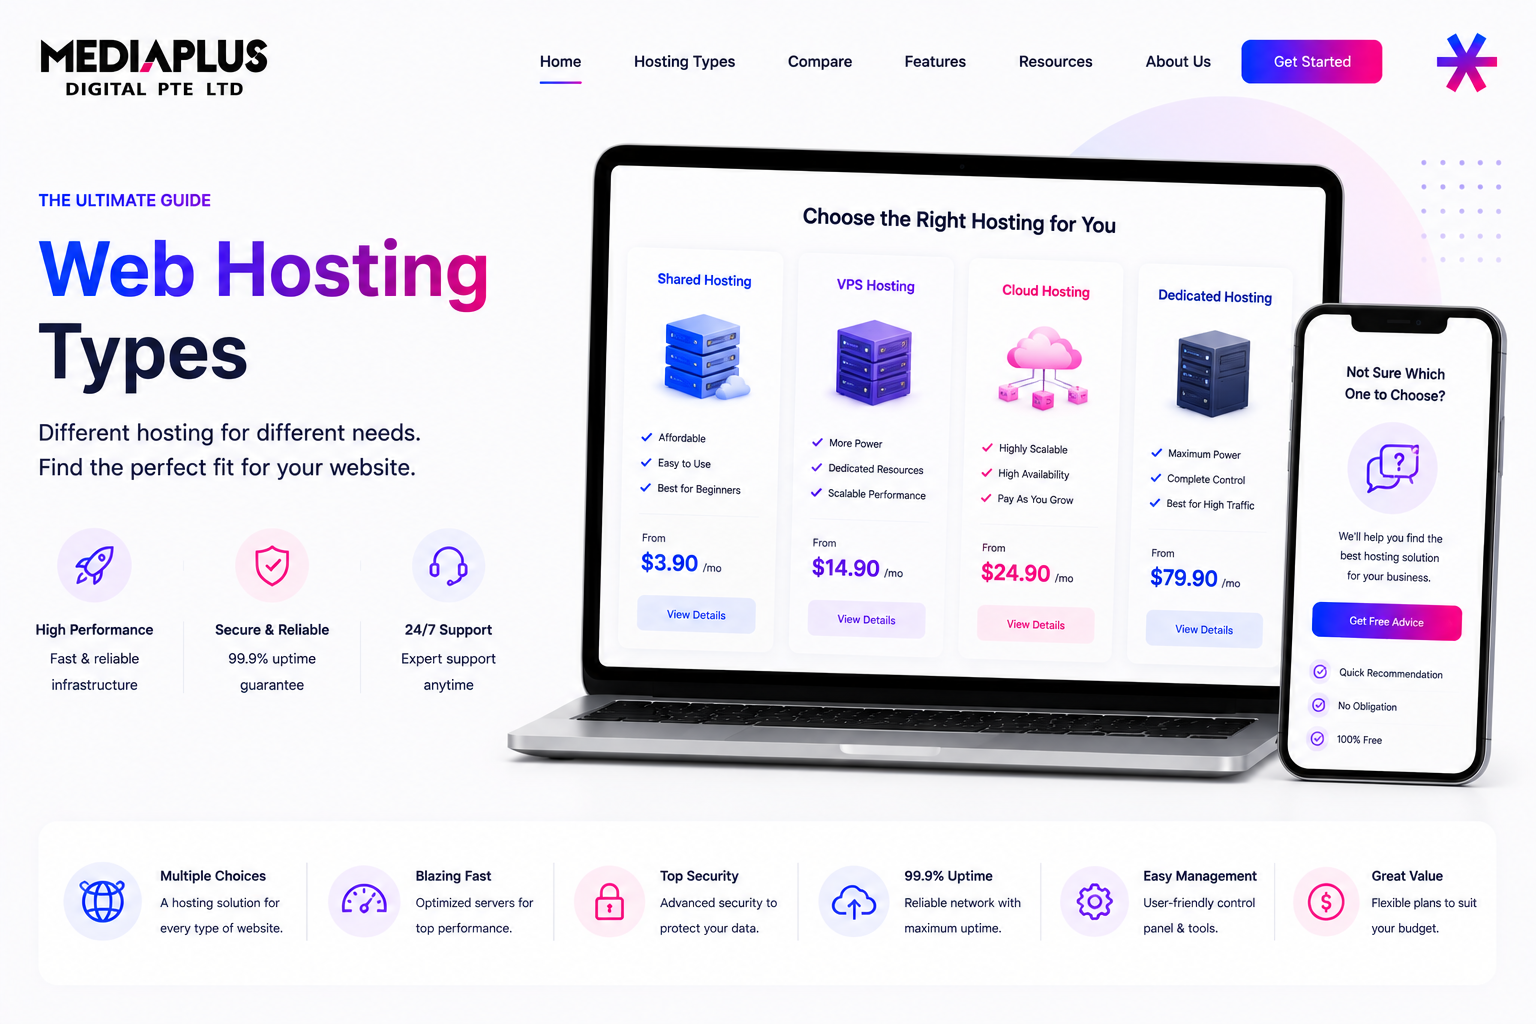
07. Pick a Website Host
To make your website accessible online, you need hosting. Hosting stores your website files on a server so users around the world can visit your site.
Some platforms include hosting as part of their service, which simplifies setup and ongoing maintenance. These bundled solutions often come with built-in security, automatic updates, and basic performance optimization. If you choose a separate hosting provider, make sure it meets your needs for speed, uptime, and scalability.
08. Set a Publishing Date
A clear timeline keeps your project from drifting. Before you start building, set a realistic publishing date and work backward from there.
In addition to your launch date, define milestones such as when a first draft should be ready, when feedback will be collected, and when usability testing will take place. Having these checkpoints makes the process more manageable and reduces last-minute stress.
09. Learn the Steps of Building a Site
Modern website builders make it easy to jump straight into design, especially with ready-made templates. Still, taking time to understand the basic steps of building a website can save you from costly mistakes later.
There are plenty of guides available that walk through structure, content, SEO basics, and best practices. Reviewing these resources helps you build with intention rather than relying entirely on templates. You may also want to use an under-construction page while your site is still in progress.
10. Decide on a Website Layout
Your website layout acts as the structural foundation of your site. It determines how content is organized and how users move from one section to another.
The right layout depends on your goals, the message you want to communicate, and the type of content you plan to publish. A clear structure improves both usability and visual clarity.
Brand designer Chantalle Alberstadt puts it simply:
“A good sitemap is like the blueprint of a house. The clearer it is, the smoother the implementation will be.”
11. Develop Design Elements
Every visual detail contributes to how users perceive your website. From colors and typography to imagery and motion, these elements should be planned deliberately.
Key areas to review include:
-
Images and videos: Use high-quality visuals that reflect your brand. Poor visuals can instantly undermine credibility.
-
Color scheme: Choose colors that support your brand identity and desired emotional response. Minimal palettes work well for clarity, while bold colors can create strong visual impact.
-
Typography: Fonts should be readable and consistent with your brand tone. It helps to shortlist a few options early, even if you refine them later.
Chantalle Alberstadt also highlights the importance of contrast:
“The CTA button color should clearly stand out from the rest of the design, ideally as an accent color.”
A checklist helps define the role your website plays within your broader business system. When design choices align with that role, the site performs better and feels more cohesive.

12. Create Your Website Pages
Once your visual direction is clear, it is time to build the individual pages of your website. The number of pages will depend on your goals and the type of site you are creating, but most websites share a few core pages.
-
Homepage: This is often the first page visitors see, so it should be clear, structured, and visually engaging. A good homepage quickly explains who you are, what you do, and guides users toward the next step.
-
About page: Use this page to share your story, values, approach, and anything else that helps define your brand and build trust.
-
Contact page: Make it easy for people to reach you. Include your phone number, email address, physical address if relevant, and links to your social profiles.
13. Optimize Photos
Image quality matters, but so does performance. Make sure your photos use the correct file format and are optimized for the web, as this directly affects loading speed.
A common mistake is uploading very large images that are only displayed at small sizes. This wastes storage and slows down your site. Whenever possible, resize images to match the actual dimensions they will appear at on your pages.
14. Include Your Logo
Your logo plays a key role in reinforcing brand recognition. Whether you are building a personal brand or a company website, your logo should appear consistently across the site.
Common placements include the website header, the homepage, and the favicon. A favicon is the small icon shown in browser tabs, and using your logo here adds a subtle but professional branding touch.
If you do not have a logo yet, many website platforms offer built-in tools to help you create one quickly.
15. Integrate Analytics Software
Analytics tools help you understand how your website performs after launch. They track key metrics such as traffic, user behavior, and conversions.
By setting this up early, you can see how visitors find your site, which pages perform best, and where users drop off. These insights are essential for ongoing optimization and growth.
16. Purchase a Domain Name
Your domain name is your website’s address on the internet. Choosing a name that reflects your brand makes your site easier to remember and more professional.
You can purchase a domain through most website platforms or domain registrars, then connect it to your site before launch. This step is simple but critical for credibility and discoverability.
17. Design an Under-Construction Page
Before your full site goes live, consider publishing an under-construction page. This ensures that anyone who visits your URL early sees a clear message instead of a broken or incomplete site.
A simple page explaining that your website is coming soon helps set expectations and builds anticipation. You can also include an email sign-up form so visitors can stay informed about the launch.
18. Arrange Strategic CTAs
Calls to action guide visitors toward the actions you want them to take, such as signing up, contacting you, or making a purchase.
CTAs usually appear as buttons or short text links with clear language like “Get started” or “Contact us.” Place them thoughtfully across your site so users always know what to do next.
Strong CTAs start with clarity. Before thinking about colors or placement, be clear on who your audience is and what action matters most.
19. Add an Email Sign-Up Form
Forms are essential for interaction and growth. An email sign-up form allows you to build a mailing list from day one, which is especially useful if email marketing is part of your long-term plan.
Place signup forms strategically, such as on the homepage, blog pages, or your under-construction page. The easier it is to subscribe, the more likely visitors are to do it.
20. Polish Your Mobile Website Design
Mobile traffic now accounts for more than half of global internet usage, so your website must work well on smaller screens.
After finalizing your design, preview your site on mobile devices. Check that text is readable, buttons are easy to tap, and layouts adapt smoothly. Whether your site is responsive or uses a dedicated mobile layout, the mobile experience should feel just as intentional as the desktop version.

Website Checklist Part Two: Pre-Launch Elements
Once your website structure and design are in place, the focus shifts to reviewing content, fixing details, and making sure everything works as intended before launch.
21. Optimize On-Page SEO
Search engine optimization, or SEO, ensures your website can be discovered through search engines. It is a core part of organic marketing and should be addressed before publishing.
Key on-page SEO tasks include:
-
Adding meta titles and meta descriptions so search engines understand each page
-
Optimizing page speed to support both rankings and user experience
-
Writing alt text for images to improve accessibility and SEO
-
Conducting keyword research and applying keywords naturally across content and image alt text
As Chantalle Alberstadt notes, an accessible website almost always results in a better user experience overall.
22. Link to Your Social Accounts
Social media supports off-page SEO and helps you stay connected with your audience. Before launch, make sure your website links to your active social media profiles.
Including social icons or a social bar in your design allows visitors to follow you easily and stay updated beyond your website.
23. Connect or Transfer Your Domain
Once you have purchased a domain, you need to connect it to your website. If the domain is currently linked to another platform or host, you may need to transfer it instead.
Most website platforms provide step-by-step guidance for domain connection. After this step is complete, visitors will be able to access your site using your custom domain.
If you have created a coming-soon page, this is a good moment to publish it.
24. Update the Copyright Year
Check the footer of your website and ensure the copyright year is correct. This small detail often goes unnoticed, but an outdated year can make a site feel neglected or out of date.
25. Proofread Written Content
Review every piece of text on your website carefully. This includes headlines, body copy, buttons, forms, and blog posts.
It is best to ask a friend or colleague to proofread as well. A second set of eyes can catch errors or unclear phrasing that you may miss.
Chantalle Alberstadt puts it simply:
“A good headline combines clarity, emotion, and benefit.”
Also remember to replace any placeholder text, such as lorem ipsum, with final content before publishing.
26. Test All Forms
Forms are essential for communication and data collection. This may include contact forms, email signup forms, surveys, or booking forms.
Before launch, test every form to ensure submissions work correctly and that information is stored or delivered as intended.
27. Link Your Logo to the Homepage
Your logo should appear prominently, usually in the header, and it should link back to the homepage.
This is a standard usability expectation and helps users easily navigate back to the main page from anywhere on your site.
28. Review the Entire Design
Before publishing, review your website from top to bottom. Look at spacing, alignment, typography, and visual hierarchy.
You may want to reference basic design principles such as balance, contrast, and consistency to ensure the site feels cohesive and intentional.
29. Get Feedback From a Friend
Fresh perspective matters. Ask one or two people to explore your site as if they were first-time visitors.
They can often spot confusing navigation, unclear messaging, or visual issues that are easy to overlook when you have been working on the site for weeks.
30. Check for Broken Links
Go through every internal and external link on your website and confirm it leads to the correct destination.
Broken links harm user experience and can negatively affect SEO. Ask testers to flag anything that does not work as expected.
31. Test User Experience (UX)
Beyond checking links, test how the website feels to use. A smooth experience means nothing interrupts or frustrates the visitor.
UX testing can include:
-
Checking browser and device compatibility
-
Making sure images and videos load correctly
-
Running load tests to confirm the site can handle traffic
Chantalle Alberstadt recommends keeping image sizes under 500 KB whenever possible, ideally closer to 200 KB.
32. Scan for Accessibility
Website accessibility ensures people with disabilities can use and interact with your site.
Run an accessibility audit to check contrast, alt text, keyboard navigation, and readability. Address any issues before launch so your site meets accessibility standards and serves all users equally.
33. Update Contact Information
Double-check all contact details wherever they appear, including the footer, contact page, and About page.
Accurate contact information is essential, especially if one of your goals is lead generation or customer communication.
34. Set Up Live Chat
Live chat gives visitors a fast, familiar way to reach you. It can improve customer support, increase engagement, and help convert visitors into customers.
If real-time communication fits your business model, set this up before launch.
35. Customize 404 Pages
A 404 page appears when a user lands on a broken or incorrect URL.
Instead of showing a generic error page, customize your 404 page with clear messaging, helpful links, and navigation options that encourage visitors to stay on your site.
36. Write a Privacy Policy
A privacy policy explains what data you collect, how it is used, and how it is protected. It also outlines user rights and legal responsibilities.
This page helps build trust and is often legally required, especially if you collect emails, run analytics, or use tracking tools.
Alberstadt advises reviewing your privacy policy regularly, particularly when adding new tools, forms, or tracking methods.
37. Plan Off-Page SEO
Off-page SEO includes activities outside your website that improve visibility and authority.
Common strategies include guest blogging, earning backlinks, participating in relevant forums, and sharing content on social platforms.
Planning this in advance helps maintain momentum after launch.
38. Organize Your Contact List
Prepare your email marketing setup before launch. Clean your contact list by removing inactive subscribers and organizing contacts by location, interests, or funnel stage.
If you collected emails through a coming-soon page, this step will be much easier.
39. Prepare Social Accounts for Promotion
Social media plays a key role in promoting your website after launch.
Before publishing, make sure your profiles are updated, your website link is added, and promotional posts are planned or scheduled.
40. Click “Publish”
Once everything is reviewed and ready, publish your website.
After publishing, open your site in a browser using the full domain, check that all pages load correctly, and preview the site on mobile devices to confirm everything looks and works as expected.
Website Checklist Part Three: Post-Launch Tasks
Once your website is live, the work does not stop. Post-launch tasks focus on protecting your site, improving performance, and making sure it continues to grow alongside your business.
As Chantalle Alberstadt puts it: “A website is never really finished. It grows with the company.”
41. Back Up Your Website
Protect your website by setting up regular backups. This ensures that your design, content, and data can be restored if something goes wrong.
Choose a secure backup location and define a clear schedule so backups are created and updated consistently. This step is essential for long-term stability and peace of mind.
42. Perform a Usability Test
Usability testing is a common UX practice and remains valuable even after launch.
Ask a group of target users to interact with your website and complete specific tasks. Follow up with questions about clarity, ease of use, and overall experience. Pay close attention to whether users can achieve their goals and where they feel confused or frustrated.
Every issue uncovered is an opportunity to improve the experience.
43. Check Website Security With an SSL Certificate
An SSL certificate ensures that data exchanged between your website and its visitors is encrypted and secure. This is indicated by the “https” in your site’s URL.
SSL certificates are often included by hosting providers or added through third-party services. Confirm that your certificate is active and functioning correctly, as this affects both user trust and search engine visibility.
44. Submit Your Website for Indexing
After launch, your website needs to be indexed by search engines to appear in search results.
Register your site with Google Search Console and submit a sitemap. A sitemap helps search engines understand your site structure and see when pages were last updated.
45. Verify Analytics Tracking
Confirm that your analytics tools are collecting data correctly. Review basic metrics such as traffic, page views, user behavior, conversions, and visitor locations.
This data is especially valuable during the first few months after launch, as it helps you understand how people interact with your site and where improvements may be needed.
46. Test Website Speed Again
Page speed affects usability, conversions, and search rankings. A site that loads in under three seconds is generally considered well optimized.
Run a speed test using reliable tools and review the results carefully. Address any issues related to large images, scripts, or server performance to maintain a fast experience.
47. Promote Your Website
Now that your site is live, it is time to actively promote it.
Share the launch on social media through posts, stories, or announcements that link back to your site. Send an email to your contact list to let people know about the update. Word-of-mouth promotion also remains effective, especially in the early days.
48. Outline a Performance Tracking Plan
Define how often you will review your website’s performance going forward. This may include tracking analytics, monitoring speed, and checking for technical errors.
Whether you review weekly, monthly, or quarterly, consistency is key. Regular tracking helps you spot trends, identify problems early, and make informed improvements.
49. Consider Making Your Site Multilingual
You may not need a multilingual website at launch, but it becomes increasingly important as your audience grows across regions and languages.
When the time comes, consider proper translation, content localization, and multilingual SEO to ensure your message remains clear and relevant for each market.
50. Create a Website Maintenance Plan
A maintenance plan ensures your website remains secure, functional, and effective over time.
Include regular tasks such as updating plugins, reviewing security settings, refreshing content, checking usability, and making design improvements when needed. Treat maintenance as an ongoing process rather than a one-time task.
Frequently Asked Questions
How long should I prepare before launching a website in Malaysia?
Reserve 2 to 4 weeks after development for testing, SEO setup and compliance checks.
Is PDPA important for Malaysia websites?
Yes. PDPA is mandatory for any website collecting personal data through forms, payments or user accounts.
What load speed should my site target for Malaysian users?
Aim for under 2 seconds. 5G and fiber growth in Malaysia has raised user expectations.
Do I need a professional agency for my website launch?
A professional launch eliminates most common failures and ensures compliance with Malaysia’s digital standards.
Conclusion
A strong website launch shapes everything that comes after. When the foundations are done right, your site loads fast, works smoothly and meets Malaysia’s data protection requirements. When they’re done poorly, issues like broken forms, slow pages and PDPA non compliance can quietly drain your conversions and damage user trust.
The checklist above reflects what we’ve learned from working on hundreds of launches across Malaysia. Teams that follow a structured preparation process avoid costly mistakes and enter the market with confidence.
If you want your next website to perform well from day one, the best approach is simple.
- Start your launch preparation early.
- Make sure your hosting, infrastructure and security are truly ready.
- Confirm that every data touchpoint meets Malaysia’s PDPA standards.
- Test performance thoroughly on the devices Malaysians actually use.
- Set up proper SEO and analytics so your growth isn’t left to chance.
At the end of the day, your website becomes the face of your business. It works around the clock, long after office hours. A well built site does more than look good. It builds trust, supports your marketing, strengthens your brand and drives meaningful results.
If you’re planning a new website or considering a relaunch, you can explore how our website design and development services in Malaysia help businesses build fast, secure and scalable sites that launch smoothly and perform well over time. Let’s contact to discuss your goals and see how we can support your next website launch.